How To: Hang A Gallery Wall
How To: Hang A Gallery Wall
If you’ve been considering adding a gallery wall to your home, then here is a guide on how to hang a gallery wall, no matter the room you choose!
A Guide Of How To Hang A Gallery Wall
Adding a gallery wall to your home is an easy and simple way to bring style and personality to any room, without the need for painting or decorating. All you need is a collection of your favourite art and your choice of hangings - easy!
However, when it comes to arranging and curating your art collection, it can be intimidating when you are confronted with a blank wall. One thing to remember when it comes to knowing how to hang a gallery wall is that it doesn’t need to be perfect. Variations can create a more natural and relaxed vibe in your home and can be a fun way of making a personal statement.

Take Your Time
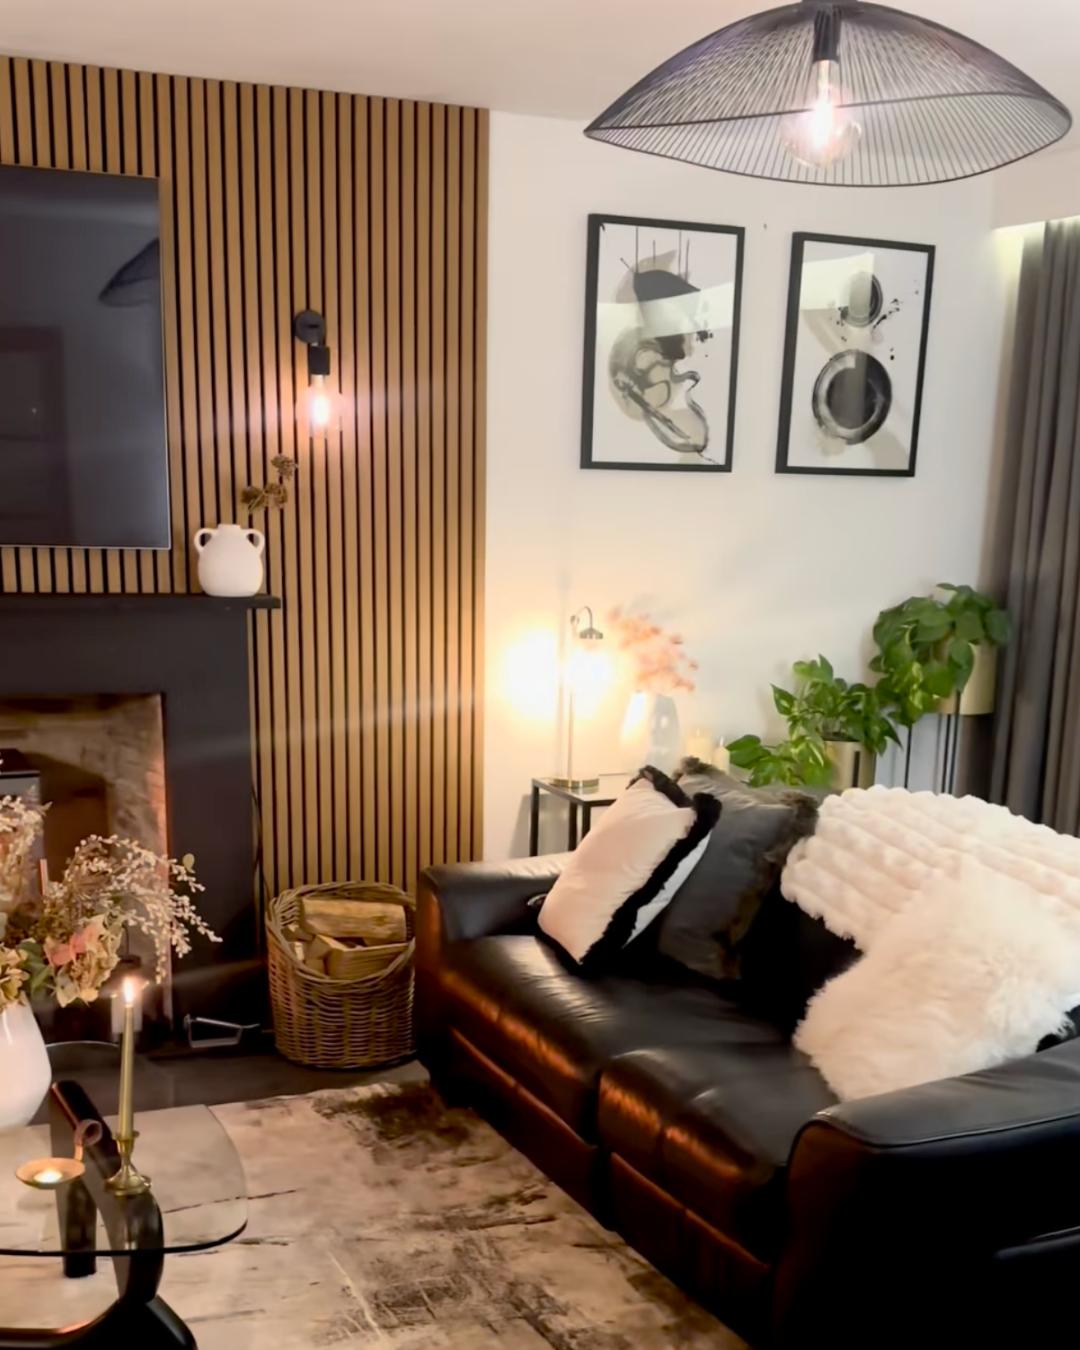
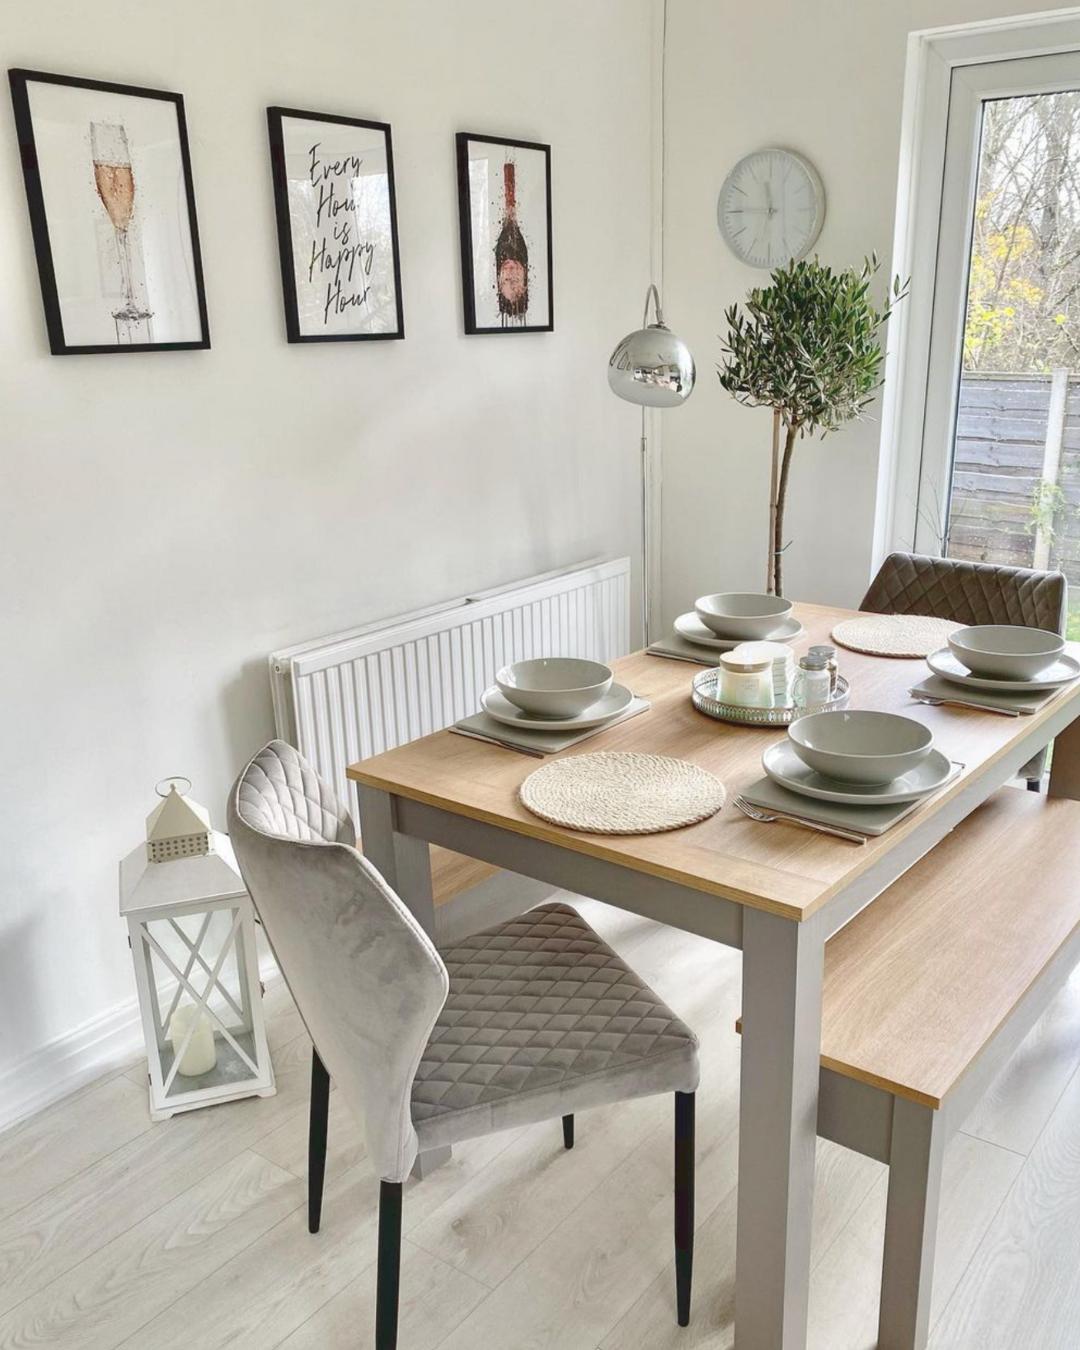
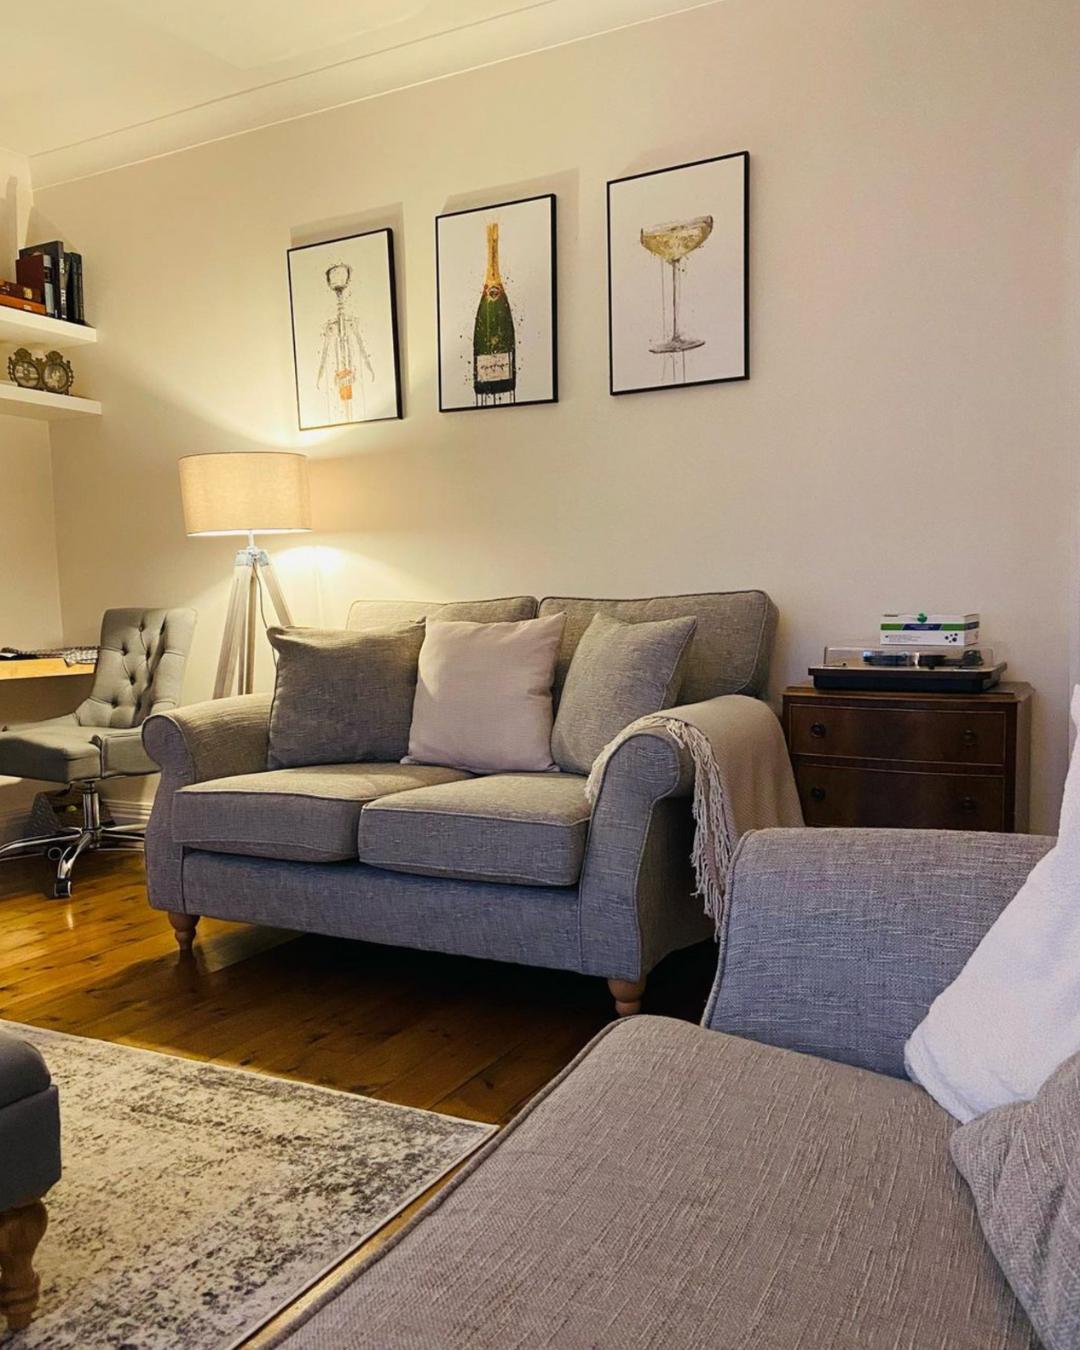
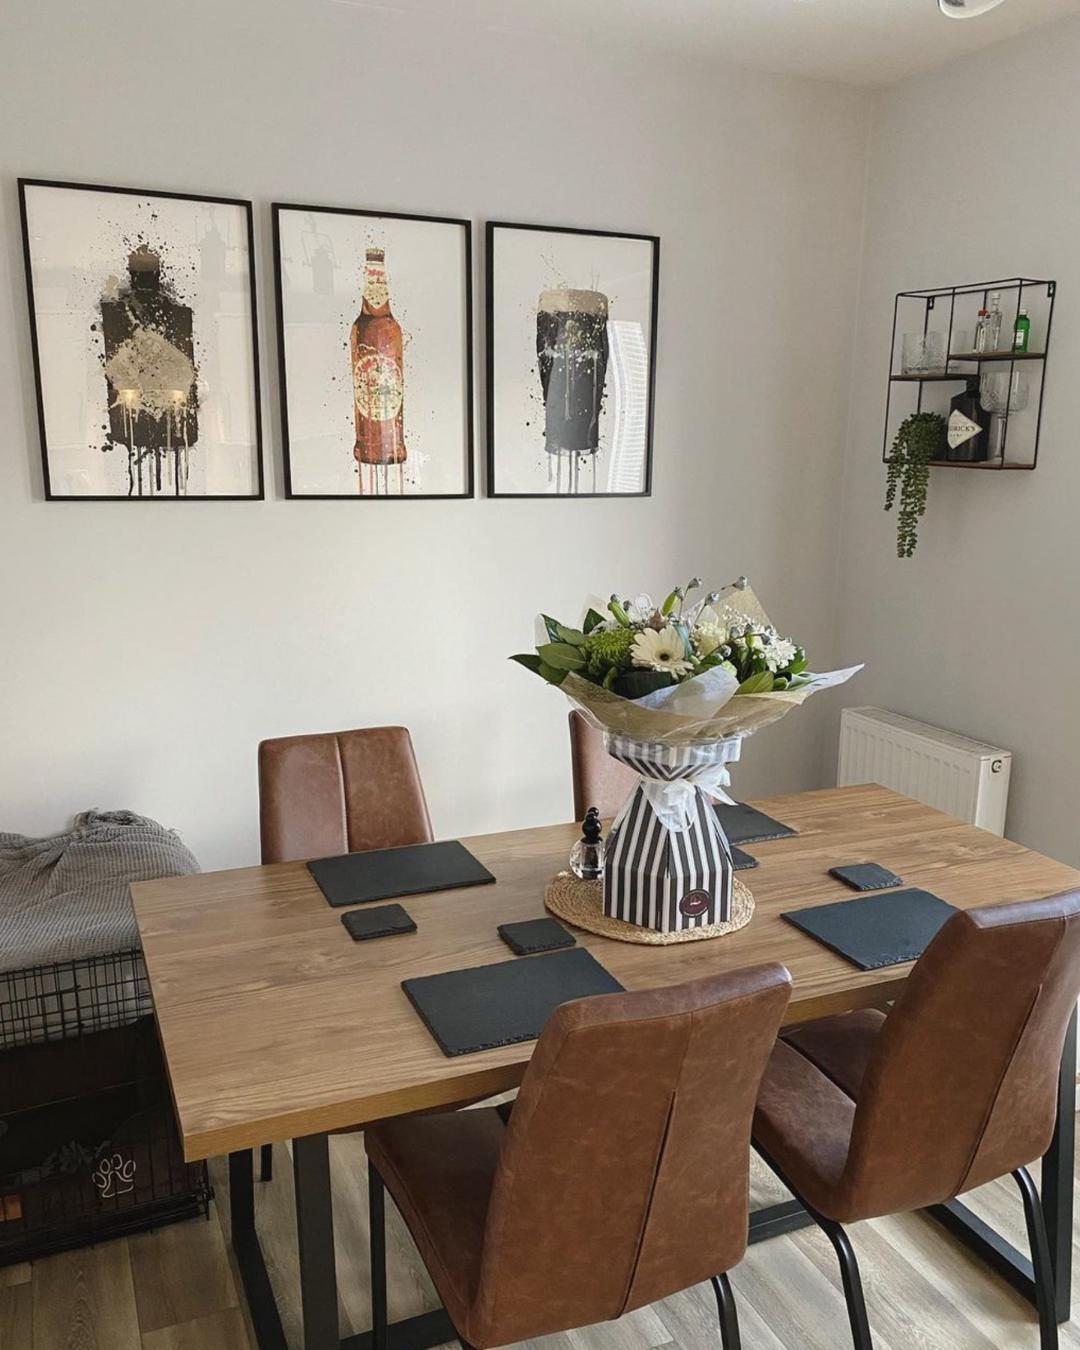
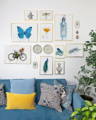
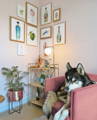
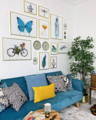
When it comes to gallery walls, it’s important to take your time with both curating your artwork collection and hanging the pieces on the wall. A gallery wall should look and feel collected and put together. The collection of artwork should be a mix of different styles, from figures and landscapes to abstracts and typography.
If you’re not quite sure how to hang a gallery wall, then try to do it when you have some free time. If you rush it, you’ll end up with a finished look that you’re not quite happy with or numerous holes in your walls! Take your time and be sure to regularly step back as you work so that you can get an idea of how your gallery wall is taking shape.
If you’re not sure what kind of prints to put together, then we have some wonderful collections of gallery wall art sets that are framed and ready to hang, minimising the stress of knowing how to hang a gallery wall and adding the finishing touch to the space you choose!
Framing Is Key
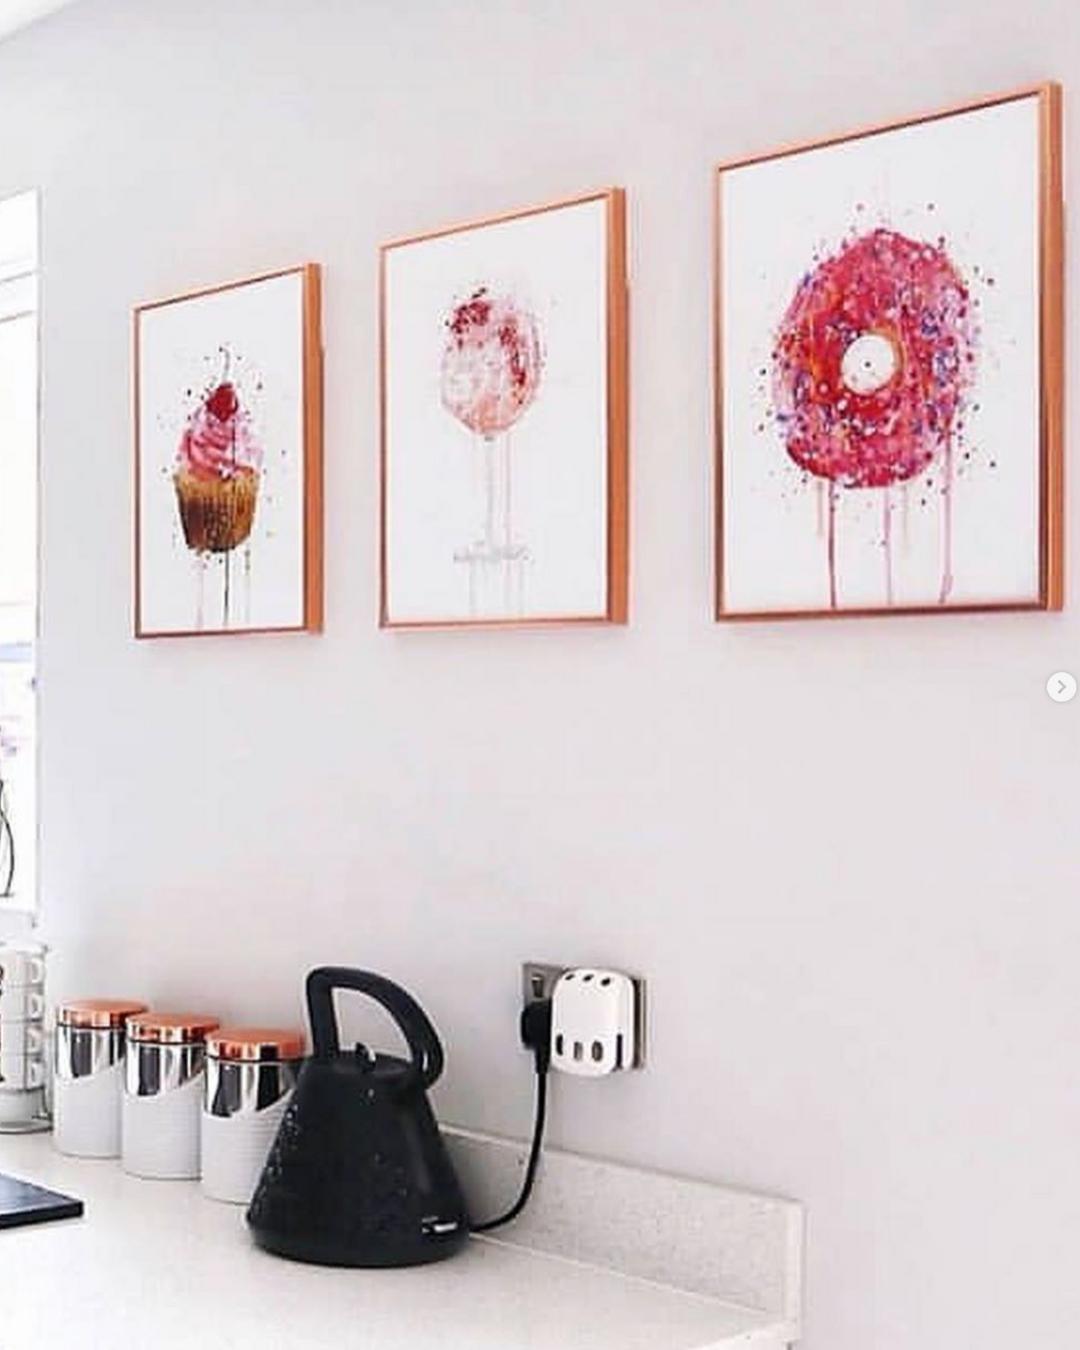
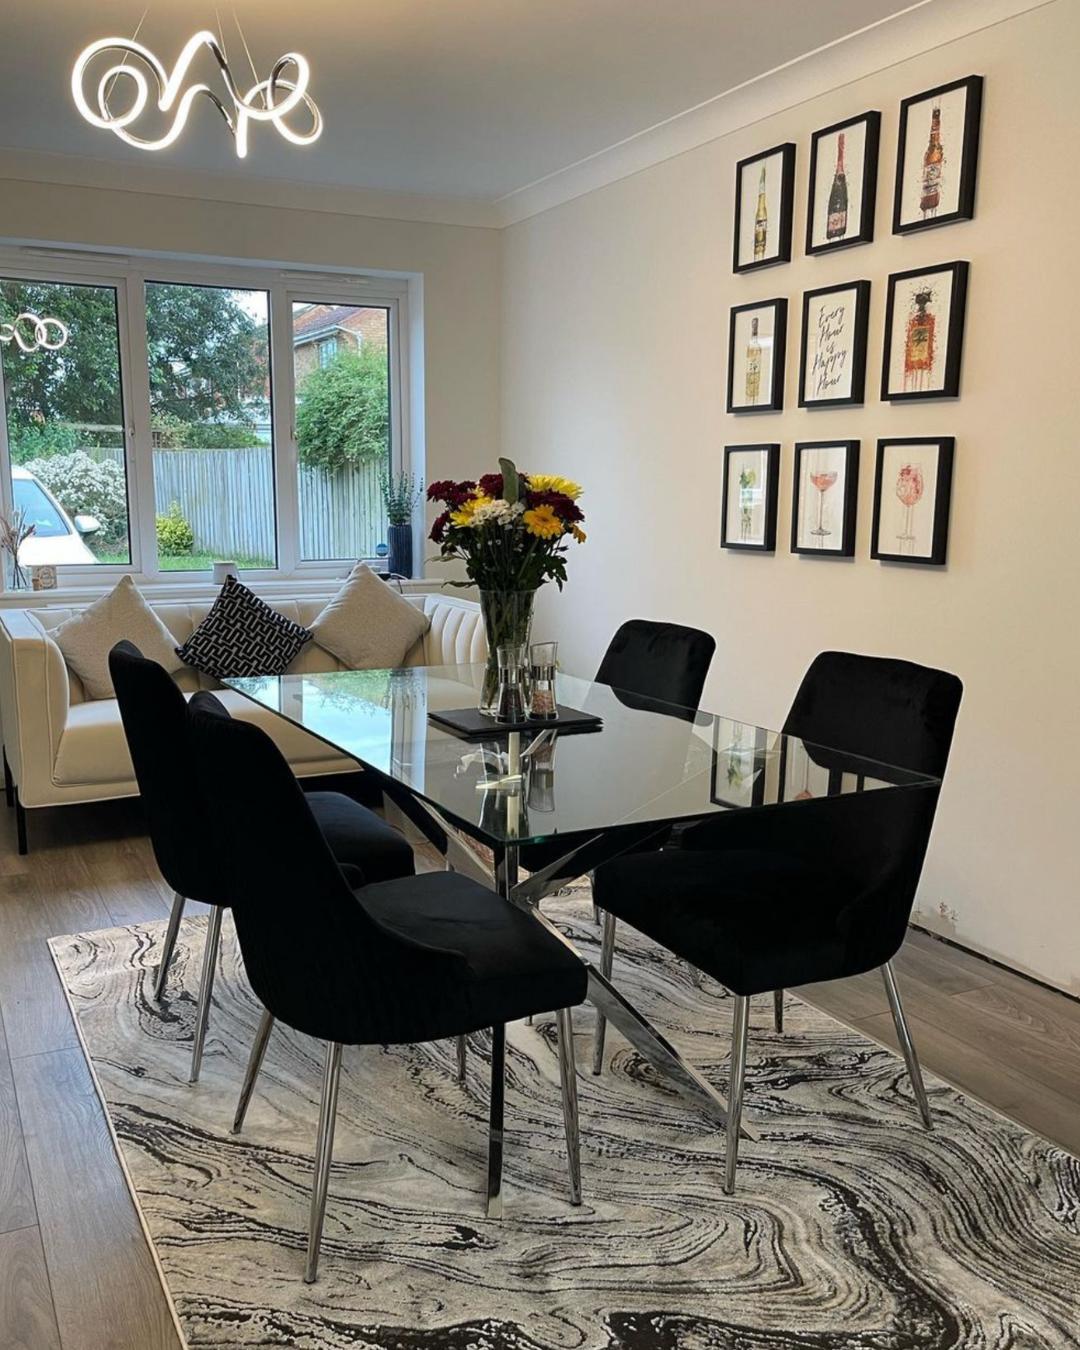
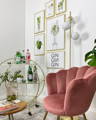
Whilst the art you choose is important when putting together a gallery wall, the frames you choose are equally important. Using good quality frames can elevate the look of your gallery wall and create a unity of the wall as a whole. One tip is to avoid using the same frame for each piece of art, as this won’t compliment the mixture and selection of art you have chosen for your gallery wall.
One of the best things about creating a gallery wall is that it is a unique and personal collection of pieces of art and by using the same frame for each piece, you’re taking away the magic from each piece. Use frames in bright colours, different woods, thick frames, thin frames or even antique frames - you want the frames to be as appealing as each of the art works. Here at We Love Prints, all of our art prints come with the option of different frames in different finishes and sizes, so that you don’t need to worry about finding the perfect frame for your feature piece. The professional framing we offer also means that your art is secure and protected which is key to ensure longevity in your art.
How To Hang A Gallery Wall
Now that you’ve chosen your pieces of art and found the right frames, it's time to hang your gallery wall! The hardest part of knowing how to hang a gallery wall is knowing where to hang the photos on the wall. Before you get the drill out, you can establish your layout on the wall using paper and masking tape.
Trace around each frame and cut out, then mark where the hanger placement is on the back of the frame, as this will make it easier to judge the height at which you want to hang the pieces. Then, using masking tape, you can easily move the frame tracings around and find where you want to hang your pieces.
It’s important to keep the different frames at an equal distance from one another. Try to keep around 3-6 inches between each piece of wall art and the sides of the frame. Your gallery wall doesn’t need to be symmetrical but there should be some kind of balance. Put larger pieces next to a few smaller pieces and combine different colours, styles and finishes.
Once you’ve finalised your gallery wall layout, mark where the frame hanger is placed so that you know where to place the nail or photo hanger. Use a hammer or drill to secure the nail or photo hanger and then remove the paper and tape. If you have large or heavy pieces of art, then you will need to secure the piece to the wall studs, so this should be checked before hand. Then, hang your pieces and then that’s it! You can now enjoy your wonderful new gallery wall.
From floral collections to striking typography pairings, our gallery wall sets are perfect for creating bold statements around the home. Take a look at our full gallery wall collection here!